Showing posts with label sewing. Show all posts

Wednesday, October 11, 2023

Thursday, March 16, 2023

Sewing Table Refresh

 The plans were big. The enthusiasm, Great! How hard could it be?

The plan was to place wheels underneath the legs so that I could roll my portable sewing machine to any room or in front of any sunny window to sew.  Sunny daylight is my favorite way to sew. 


It was my plan to drill holes in the bottom of the legs and screw in 4 wheels  and then to paint the table. But, when I checked, the legs had metal furniture glides underneath. I tried removing them using various tools but to no avail. I looked at  cup shaped casters with brakes that I might be able to set the legs in and screw on some way. They cost more than what I wanted to spend on a $13 table.

Finally, I found second hand U-shaped wheels with brakes on Amazon. Brakes are necessary to steady the table while I'm sewing. Otherwise, it'll scoot all over the place.
U-shaped casters

Here I am prepping things so that I can get started
51 second video


I did a post not to long ago  about the scandal that involved the Morse sewing machine company. I also talked about the facelift on my ~ 1950-60s sewing machine.  


The sewing machine facelift.

For some time I've wanted to try chalk paint. Since there was some blue in the pattern I went with  Waverly Night Sky. 


Washed down the table and then began painting. No additional
prep was needed before painting. 


Unfortunately, the leg bottoms were too large to fit the casters. So, I sanded them down, planning to complete each one with an appropriate sized screw to go on each side of the holes in the casters.

Placing the first leg on the table.  (18 second video)

This is when things started going downhill. I spent a lot of trial and error time trying to make the wheels fit on the table legs. When I finally sat the sewing machine on the table, two of the wheels collapsed. 
    
The results (28 seconds)

I was done. I'd been working on this project periodically from November 2022 until March 2023. The huge gaps of time were because of my frustration and trying to think of another tactic. Finally, I threw in the towel. I loaded the table into my vehicle and took it to the dump.  

Answers to your possible questions.
A. Why didn't I get someone to do this for me?  
    1.  I wanted to see if I could do it myself.
   2. I've been "burned" in the past when I got someone to repair something for me off site. 

 B. Why didn't you use the right tools such as hammer, nail, saw.
      1. I didn't want to add tools I knew I would probably never use again, and obviously I'm not good with carpentry.

C. How much did you spend? (some prices approximated)
     Sewing table                               $13.00
     Waverly Paint                               15.36
      Wheels/ casters                              9.93
       Screws                                            .59
       Extra wood                                   4.00
       TOTAL                                      $42.88 

It's all a learning experience.
That's it ***


Wednesday, October 26, 2022

Caftan

 I bought these fabrics  in May with intentions of making three caftans. I prefer a cotton blend of fabric for this type of project since it's for comfort  around the house during summer. However, I will wear caftans in colder weather with a sweater. 


 How hard could it be? Who needs a pattern for that? 😶 I do.
Folding, cutting a neck hole and at the last minute deciding I wanted pockets didn't work out as well as I would have liked.

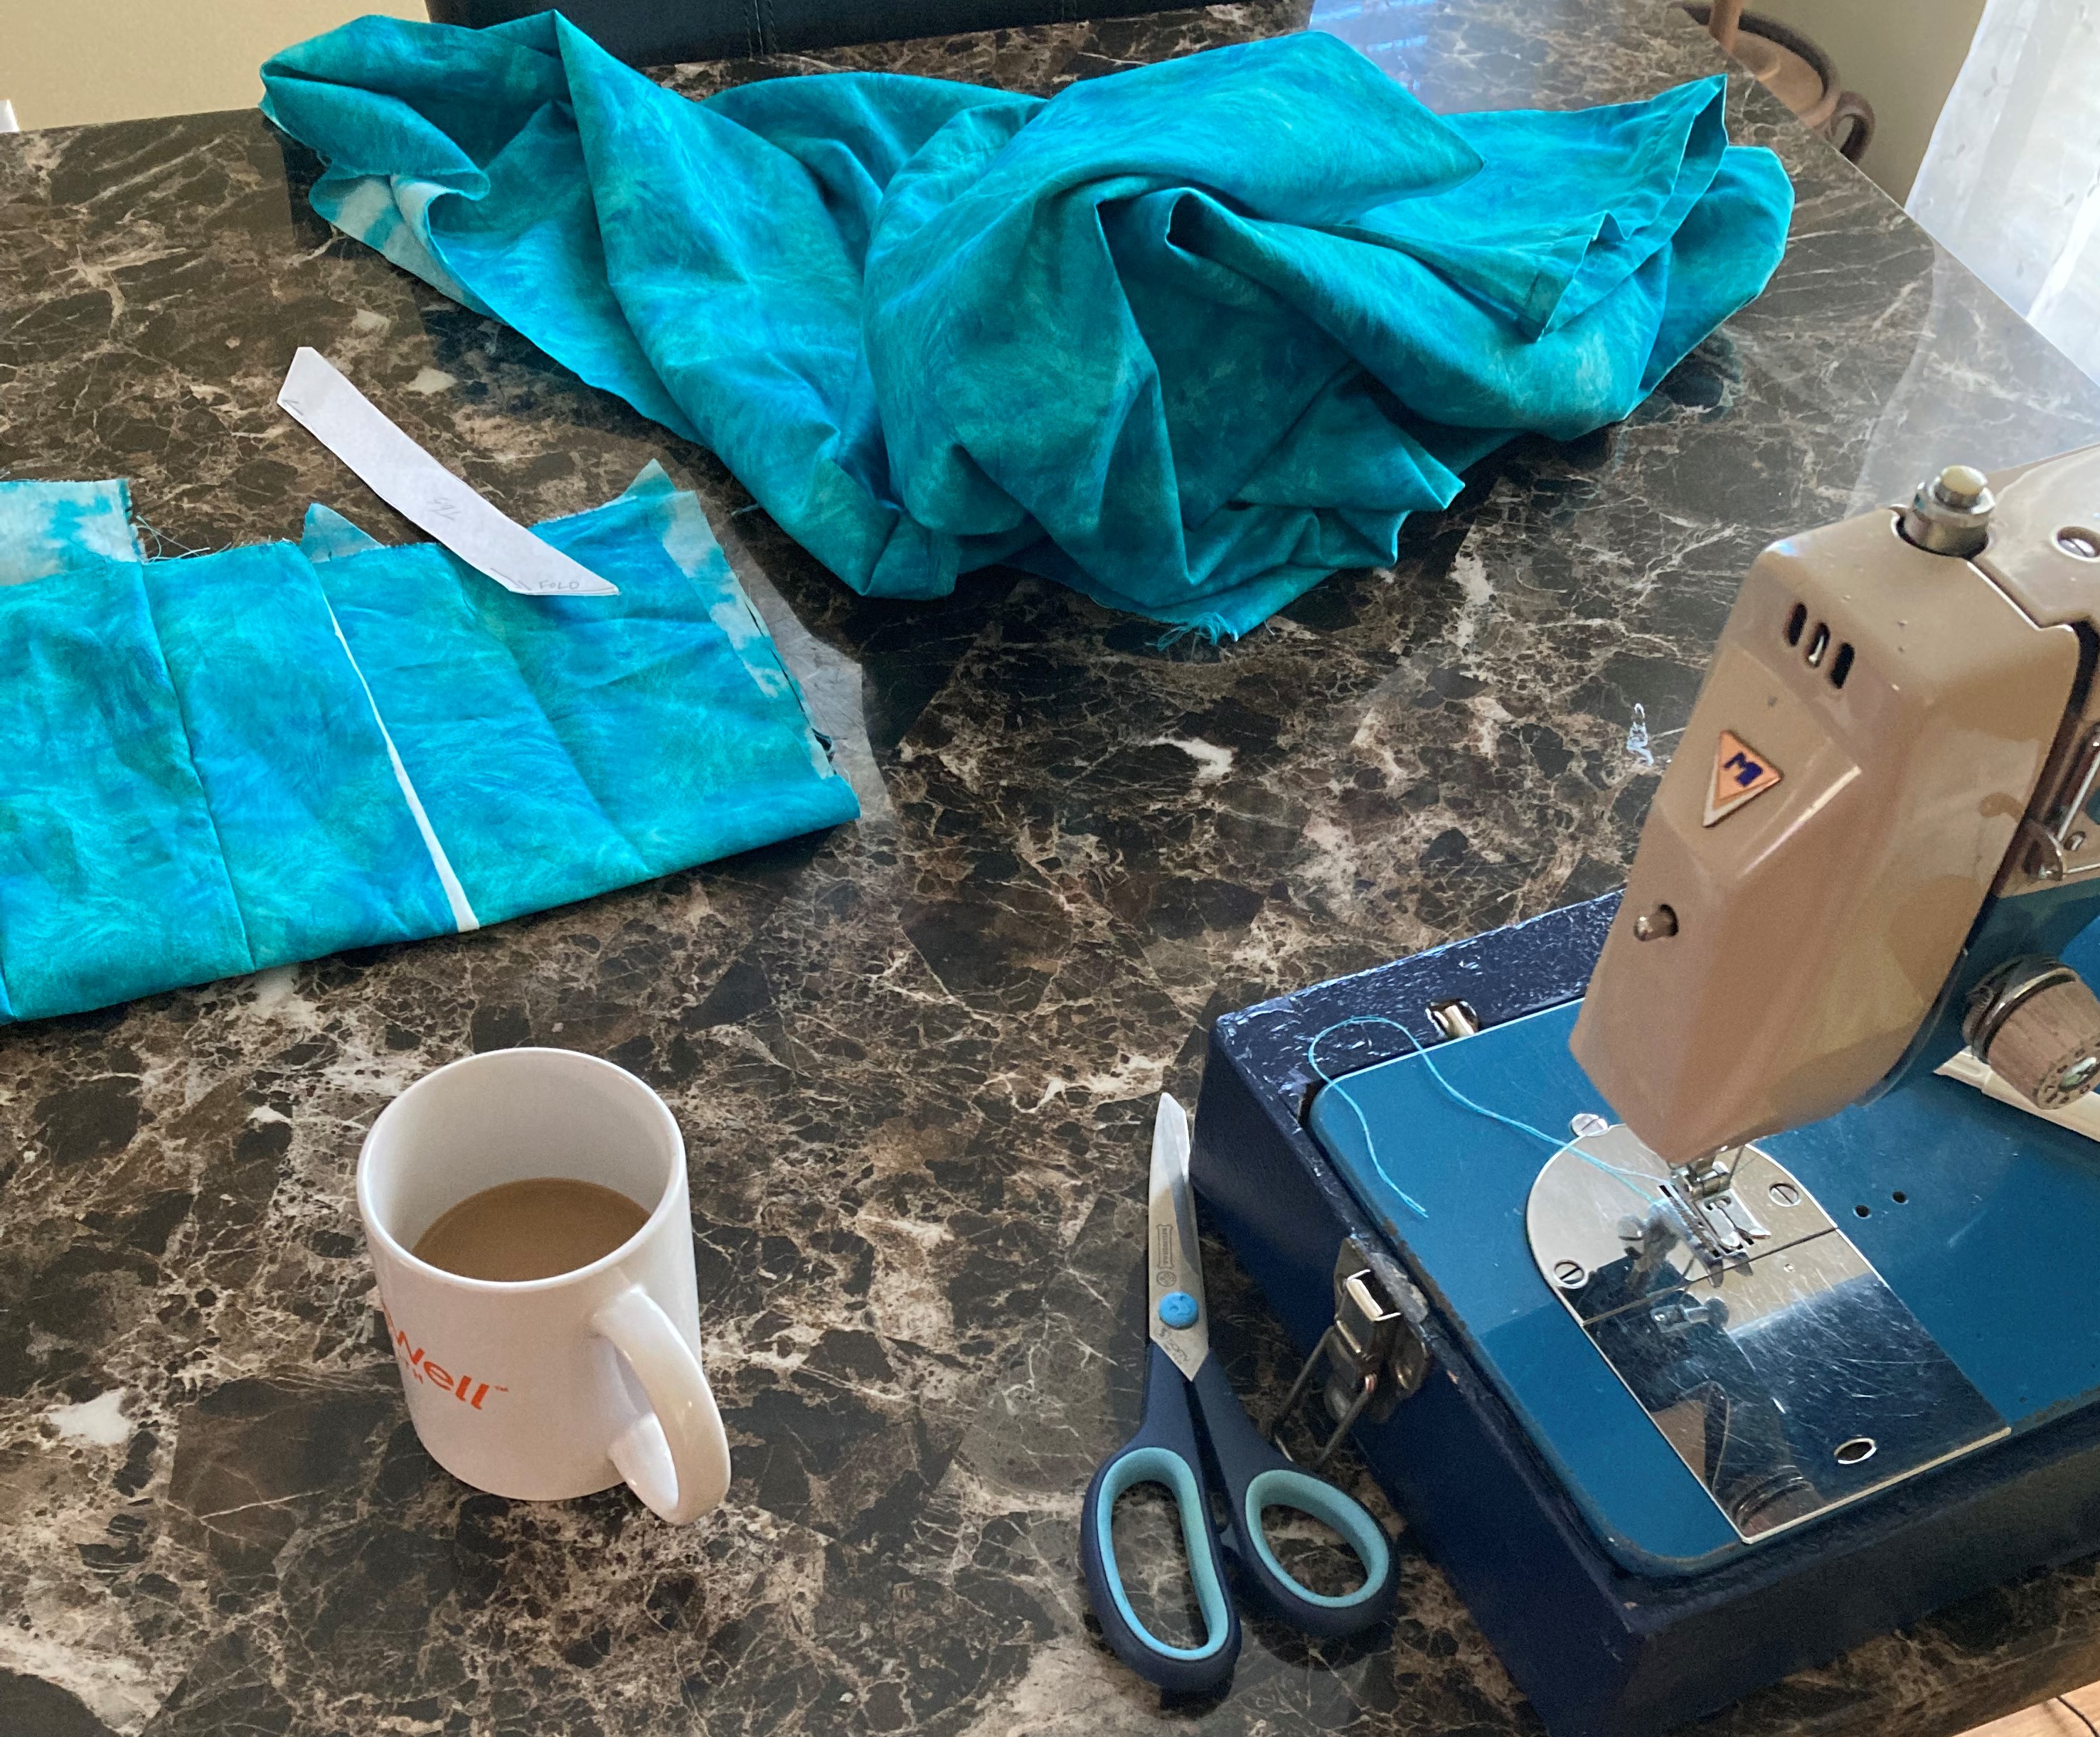
Sewing and drinking coffee. My Home Ec. teacher 
would be appalled. NO FOOD OR DRINK WHEN
SEWING!!
Since the front and back looked the same I decided
to add these beads I had in my stash. The dental
floss is to make sure they stay in place. The only
problem is that the white floss shows. Sooo, I used
a turquoise marker on the  white floss.

Front

This shows the finished caftan to
the waist. I was later told that this is 
a tunic and not a caftan.


It is now the middle of October so I'll put the idea of two other caftans to the side until warmer weather, the same way I did last fall 2021 for
    this 
          project
Bleached flannel

But, that's a story for another time.  
That's it***


Wednesday, October 5, 2022

Red Mountain Makers Fundraiser and Open House


Birmingham, Alabama was once well known for its  iron and steel industry.  

There was a running joke when I went off to school, that if you were from Birmingham, Alabama your Daddy worked at one of the steel mills. Not always true but, close. 😊 

Though the steel mills have closed, their  history will never be forgotten. Steel was the bread and butter income of many families.  Sloss Furnace,  now a historic landmark, was once a blast furnace producing pig iron. It was open from 1882 until 1971.

 Further notoriety of the iron and steel business in Birmingham, Alabama is seen through it's permanent fixture of  the cast iron statue atop Red Mountain, known as Vulcan, 


Signage could have been a little better. Had to walk two blocks to the entrance


 Jiggly octopi made from 3-D Printer


The welding I did not get to see because I didn't want to wear a sweaty welding hood
Auto darkening hood


that unknown other people  had been wearing.        Icky!! 😖

I did get to see blacksmithing and the forging of a sword.


Red Mountain Makers is not only paying homage to the city's steel and iron industry. It is keeping alive many of the crafts and vocations that might otherwise be lost without those who continue to practice them.
That's it 🔥🔥🔥

Thursday, March 3, 2022

Plastic Bag Keeper


 I had leftover fabrics from previous projects that I had not done anything with. I decided to make plastic bag holders and give them away to friends. I was not going to buy any fabric,  only use what I had on hand. Notions such as elastic and thread I was willing to buy if needed  to complete the projects.  


A short video of seven of the nine I made

There are more to come.

That's it ***

Wednesday, March 27, 2019

Stationery Pouch


I found myself keeping my envelopes in one place and stamps, address labels and pens in another. To make things more efficient I decided to make a pouch where I could keep everything in one place.

I had left over brown felt from a previous project which I used as the base and might as well get rid of that piece of green and gold upholstery fabric.   The upholstery fabric would give it a little color.

For some strange reason I had to keep running through my head, the sections I'd need . So I decided to mark them off.  Long , short envelopes, address labels, stamps, pens.


I'll highlight the divisions by  putting a strip of the green/gold at the opening. And to make it even prettier , I'd make the fold over of the envelope pouch out of the green. 
😞 Now that I look at it, I don't like the crookedness. I also don't like the green thread I used which I thought would bring out the green of the fabric.

But, I can stencil over the stitches with green metallic paint. And, the flap covers the wonky pockets.

But wait!
You sewed the flap on BACKWARDS!!! The pretty fabric folds inside the pouch and won't be seen from outside. 

FAIL
Though I'm disappointed, I'll try again.
To be continued...   
NOTE: 5-30-2019 An update can be found in the middle of the page here.


Tuesday, February 28, 2017

Bling Is Our Thing


If you only want to see the pictures scroll down.
There are Red Hat Societies (RHS) all over the world. I happen to belong to a chapter known as B-Uniq' Sophisticated Ladies (BUSL). Yes that is the correct spelling with emphasis on the "Unique" portion. 

The focus of the RHS is for women of 50 years and older to get together and  "play" which is really to have fun.  Events are known as "hoots". Pink Hatters are women under the age of 50. When a Hatter turns 50, they are given a "Reduation" and a red hat.

Most chapters have a large hoot on their anniversary date inviting any and all official Red Hatters that would like to attend. In some cases you must show your official membership card because there are a lot of renegades who call themselves Red Hatters but don't observe the rules and regulations.

In keeping with this year's theme, Bling Is Our Thing, I decided to make a lighted skirt. Below you can see the steps I took to make the skirt.


When all was done, I ended up not wearing the skirt. I was not pleased with the aesthetics of the outer skirt.  I instead chose to wear a normal red dress with lots of jewelry. 
Let it be known that I'll go back to the drawing board and may refashion the lights into something completely different. It isn't over. 
B-Uniq' Sophisticated Ladies  
 That's It***

Friday, February 24, 2012

FAKE ART CANVAS HANDBAG
I like many of the unique items featured at the Anthropologie site. No way will I be purchasing any of their goods because:
1. It doesn't come in my size.
and
2. It's out of my budget.
Thankfully I don't have to join their site just to look. A lot of other sites are snobby that way. Their handbags are impressive. I saw  this one and admired it. It was on sale for ~$80.
 
They also have another tote style that runs close to $400.


I got to work trying to figure out how I could make something similar to the envelope clutch.


Holding the rolled print in place with cans from the pantry.
White canvas fabric  before staining.

The fabric and print were stained with  several coats of brown acrylic paint mixed with decoupage medium. I still wasn't pleased and so I added a little strongly brewed coffee to the decoupage.  The weather was pleasant and so I hung it outside on the fence to dry between coats.


I could leave it as is but I decided to put in a lining.
Before putting in the lining I  attached a pocket. I know it's shabby but I wasn't that interested in making it perfect. This is a test. All of the materials used except the art print were scraps or pieces I had in the closet that were either left over from other projects or never used and part of my stash.


These pictures are a little out of sync. This should have been above. I should have put the pocket on before
sewing the lining to the top. After attaching the pocket , I attached the lining with fusible web. It worked like a charm. 

This was the hardest part, sewing in the gusset. When it came to the curve of the purse, I was unable to position things so that I could sew it so I ended up gluing the curved area down from the inside.
The open purse
No, the stitches aren't straight and uniform but I'm still pleased with it.

Purse closed with  stained canvas flap

Not perfect but I'm pleased with it. The bead at the closure was made with scrap from the print.  I have been experimenting with paper bead making.


Velcro is used to close it.
There are flaws which I expected. Overall I succeeded in what I wanted to accomplish.

THAT'S IT ***