Monday, December 10, 2012

Copycat

It's been said that imitation is the sincerest form of flattery.

I saw this necklace at a site that I don't remember (I must get better at writing it down to give the proper people credit) and felt that I could create something similar.


Using two pieces of cardboard which can be gotten for free pretty much anywhere, I glued them together using regular school glue. Make sure the glue is spread over the entire piece of cardboard. I wanted firmness but not heaviness around my neck. Cereal box and shirt board cardboard work well.


 I used the paper clips to hold the two pieces in place and then stuck it in the oven on 200 degrees for 10-15 minutes. Make sure you don't burn your fingers on the paper clips when you remove it from the oven. It would be best to use a pot holder and allow the clips to cool before removing them. 

Using acrylic paints in chartreuse,cobalt,purple,burnt orange and a little bit of brown I painted the cardboard in the colored tiers as in the photo. Imitating what was in the original necklace I used a comb dipped in brown to get the striated lines in the chartreuse. I used an opened paper clip to pull the wet burnt orange drops to create the splotches in the blue The same was done to the layer of purple and then sponged a little bit. I then placed it back in the 200 degree oven to dry for ten minutes. I repeated this same method on the opposite side in the same manner so that the colors would be the same on both sides when cut out. I brushed a matte coat of decoupage glaze on both sides.
 

I'd forgotten about the crude hearts on the smaller discs of the necklace so I took another piece of cardboard  prepping it the same as the tri-colored piece and painted it metallic sage green. After it came from the oven it had this beautiful blistered paint. I really like this  texture and will use it in future projects.
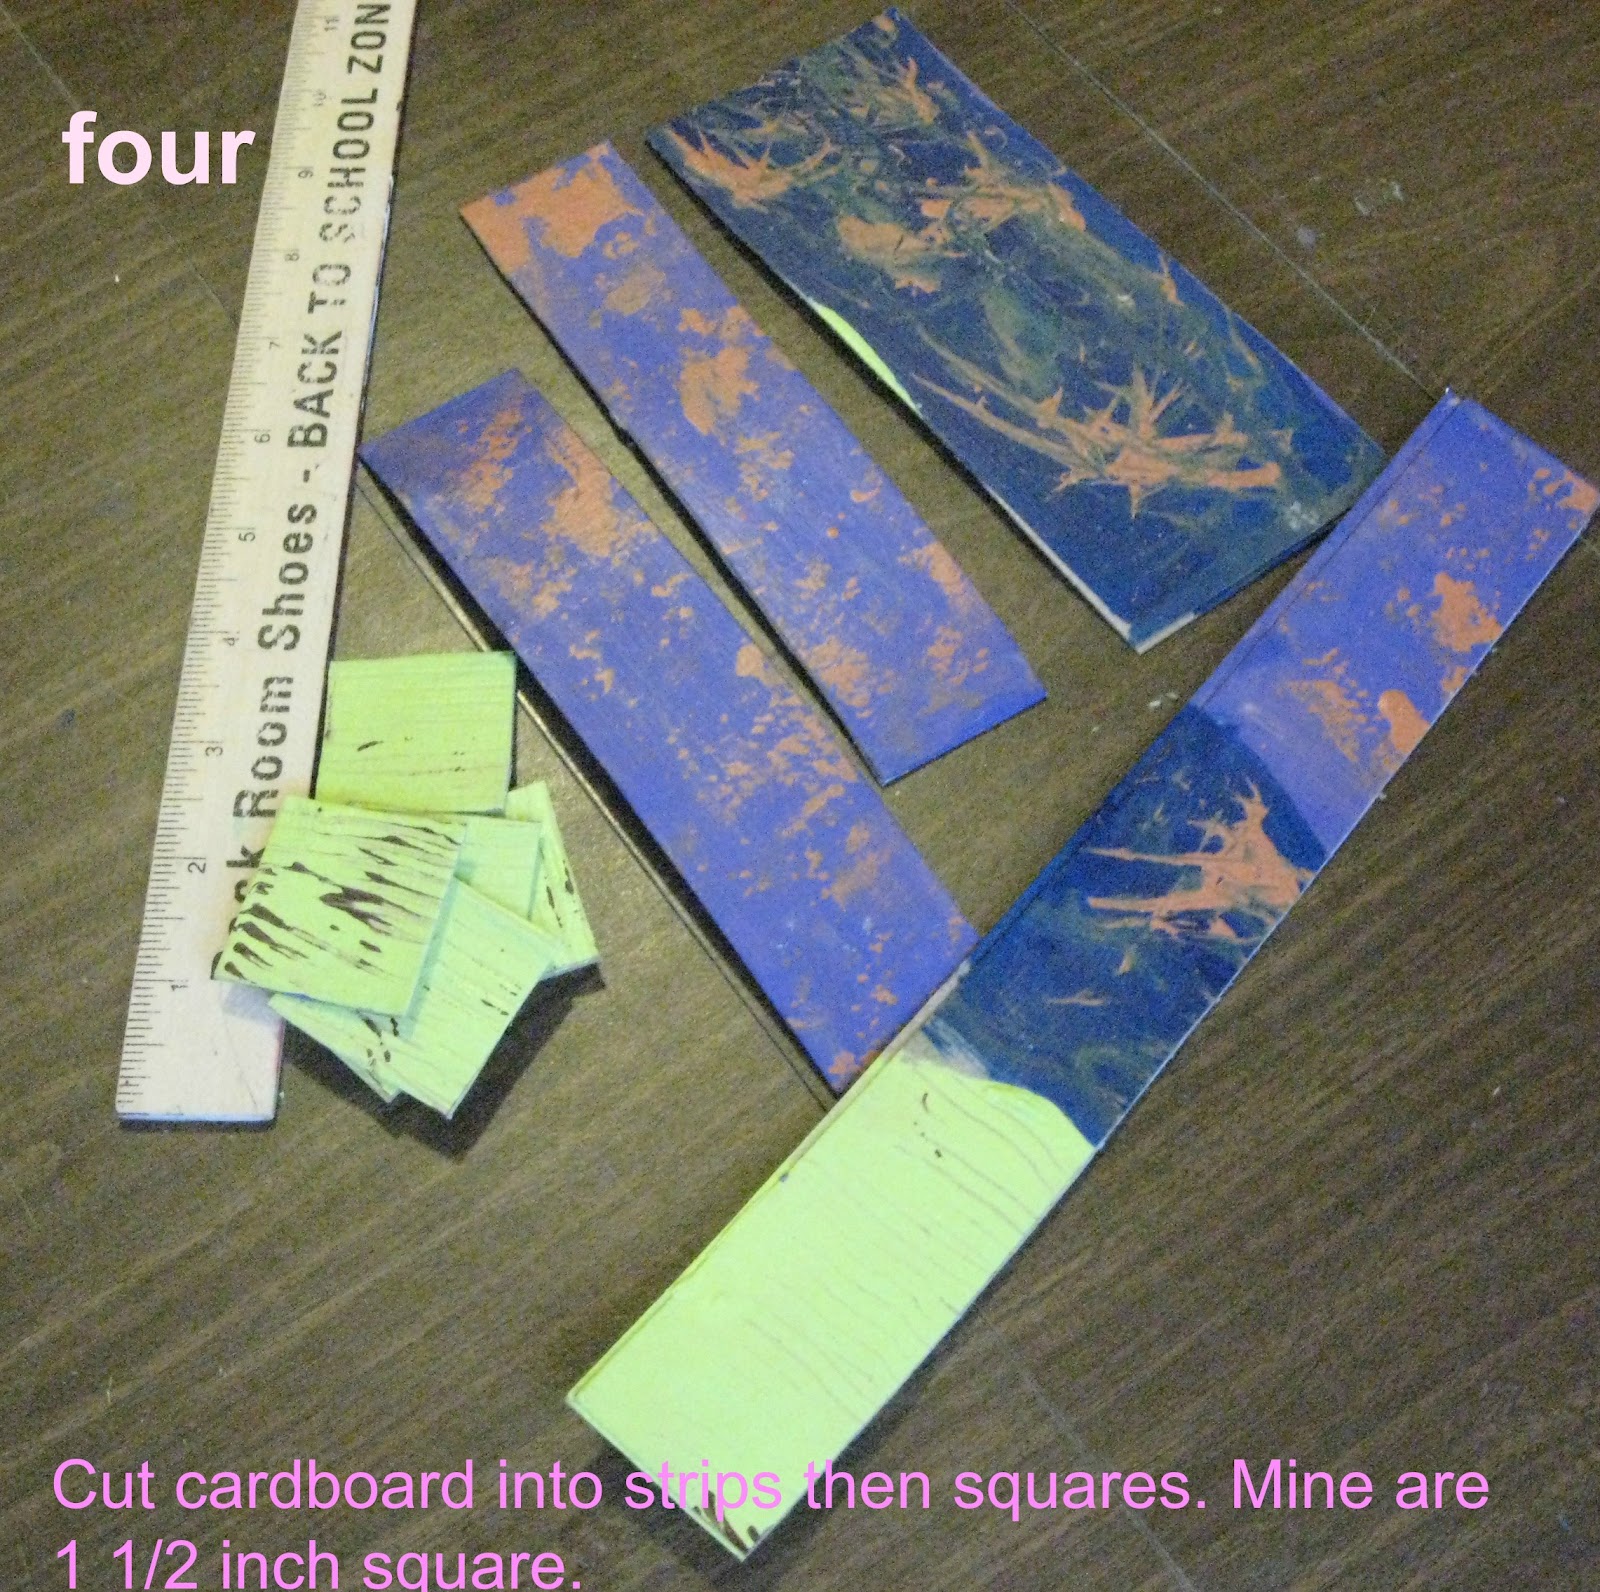
THE PROBLEM came in when I got ready to cut out the discs. I had planned to use my circular craft puncher but the cardboard was too thick so I resorted to cutting 1 1/2 in. squares of the tri-colored cardboard.

The metallic I cut into 1" squares.
I used my drill to make the holes for the jump rings. I might add here that I made my own jump rings from beading wire using the tutorial by Hectanooga1 

My version of the disc necklace

The original designers necklace.


AFTERTHOUGHTS
I'd bought a roll of chain at Hobby Lobby some time ago. I used a length of it to attach the jump rings and squares. This was my first attempt attaching jump rings onto a chain. I also made the closure for the necklace. I'll admit I didn't have the right tool for this part and will have to practice a bit more. I'll also make the necklace a little shorter removing some of the links. Overall I am very pleased.
THAT'S IT***

Sunday, December 2, 2012

Tablescape

I was asked to do a Tablescape at the local library for their annual seasonal Open House. I've never done a tablescape before but since I've been trying a lot of new things I decided to add this to the list. I let it be known that I would not be making purchases for the tablescape but that I'd be using what I had at home, found objects and crafted items. It would be a shabby chic tablescape. I looked through a few sites on the web to get ideas and decided on a New Year's theme. I assumed that there would be a number of tables with a Christmas theme.

Dress rehearsal for table. Making sure I have everything before I pack it.
 Included in my tablescape were:
*3 table coverings-turquoise sheet, bottom, white lace tablecloth top, powder blue damask overlay
*painted white magnolia leaves
*2 cerulean blue vases from the 1950's belonged to Mom
*flatware with the initial "S"-over 20 years old bought from Fingerhut
*square plates-from over 20 years ago bought at a knockoff store
*Napkins made from home decor  fabric- The only purchase @ $14.98 a yd. (It was an impulse buy)
 *turquoise and gray organza ribbon
*blue stemmed glasses
*large canning jars
*menu
*old watches- thrift store purchase already in my stash
*Old books painted with glitter paint
*Riesling wine bottle relabeled to imitate champagne
*glass flat beads
*old keys painted blue
*Paper clock cut outs
*A computer


1.The title on the spine reads, In a Darker Time. It was painted with turquoise glitter paint. A computer generated 2012 is on the cover. 2.Menu 3.Wine bottle turned champagne bottle 4.  napkins


Father Time and Baby New Year were a last minute thought.
Father Time is made from a paper towel roll covered in silver fabric. If you enlarge the photo you'll see he has a watch across his left arm. The hair is a cotton ball, The scythe is a drinking straw covered with foil. The head is a wooden bead covered in blue chiffon. Baby New Year is made from silver fabric. His top hat is a toilet tissue roll cut to size and painted. His diaper is off the sleeve of an old tee shirt.


The finished table before being viewed by the public
 Here's what was on the southern style faux menu


Black-eyed peas slow cooked in a seasoned bouquet

Freshly picked collards with a hint of banana peppers prepared in a cast iron pot


Alabama raised free range golden crusted fried chicken

Tender, grilled barbecue ribs dipped in brown sugar barbecue sauce


Savory buttermilk and garlic cornbread


Deep dish sweet potato pie topped with homemade whipped cream and southern pecans

Old-fashioned banana pudding made with vanilla wafers crowned with a toasted meringue


Sweetened iced tea with lemon and mint

Louisiana style coffee and chicory


Champagne


This is a close up of one of the place settings.
 
The canning jars are for the iced tea. It is adorned with two magnolia leaves that have been painted white which have New Years wishes on them. The stemmed glass is decorated with a blue key that has either, "faith, hope or charity" written on it. The iridescent napkin holds the menu and is tied with a gray organdy ribbon with blue baubles tied on the ends.


Close the book on the past. Open the book to the future.

Update: 12-02-2012, 6:46 pm.
I have returned from the library. Third place received a colorful live potted ponsettia. Second place received a trio of gift wrapped chocolates in beautiful boxes. First place was awarded a $25 Walmart gift card.

I WON FIRST PLACE    
Whoopee!!!
THAT'S IT***

Tuesday, November 27, 2012

COLLARD CHIPS
 A neighbor gave me a bunch of collards the day before Thanksgiving. I'd recently cooked fresh turnip greens but didn't want the collards to go to waste. I'd heard of kale chips so I thought I'd scout the NET for collard chips. It didn't take long until I found a recipe. One person had described how delicious these vegetable chips are and so I decided to find out for myself.

INGREDIENTS
2-4 collard leaves
1 tsp olive oil (or use olive Misto sprayer)
pinch salt
INSTRUCTIONS
1. Preheat oven to 350 degrees. Line large baking sheet with parchment paper.
2. Prepare collard leaves by washing, patting dry, and removing leaves from stem. Tear leaves with hands into 3-4 inch pieces.


3.Lay in a single layer on parchment paper.  BTW Use of the olive oil was never mentioned anywhere in the recipe. I consulted another recipe which told me to pour and toss the oil over the greens which I did.

4. Bake for seven minutes, then flip leaves. Bake for 5 minutes more, then check leaves. Remove any that are crispy, return any that are limp to the oven. Be careful not to overcook or they will turn brown and bitter.

This is what happens when you put the leaves back in for the addtional 5 minutes.


LET'S TRY THAT ONE MORE TIME AND THIS TIME WATCH IT AND DON'T LET IT BURN


The second batch turned a little brown around the edges but none cooked evenly. I removed them from the oven at this point.

5. Sprinkle collard chips with salt or other preferred seasonings.
6. Serve immediately.

This recipe was a bust. I didn't like the flavor of the"chips" at all. The crisp part mingled with the not so crisp part made for an unpleasant culinary experience. There could have been a mixup with me and the instructions. I disliked this recipe so much that the chance of me trying it again are size zero slim. I am not willing to try an alternative recipe either. There was no real way to evenly cook the leaves. A lower oven temp and placing another sheet of parchment on top of the leaves and flattening them with an ovenproof heavy object to keep them flat might have helped.

I have had good success baking root vegetables such as turnip bottoms,carrots and rutabagas.   Though collards appear thick in their raw form, I think they are too delicate to hold up to the heat in an oven.
I didn't use the entire bunch of collards. Instead I finished cleaning the rest and prepared them in the traditional manner.
THAT'S IT