Showing posts with label mod podge. Show all posts

Sunday, July 5, 2026

Boxing Boxes

 I shop online periodically.  I always save the boxes for a while to determine if I can use them for something else. (I've been trying to declutter and organize lately.) 

I've made a pact with myself that if I don't use them within 30 days, I break them down and take them to a recycle station. After all, more boxes will be on the way...eventually. 

Being that I frequent fast food restaurants, (Don't judge me.) I accumulate a lot of paper napkins. (Why throw them away when I can use them in the car or at home*?)

 For a while I stacked them on top of the microwave. That stack can get so large, it tumbles over.  I decorated one of the small, cardboard  shipment boxes using one napkin, acrylic paint, felt and air-dry clay to decorate a box to keep them in. I happened to have all I needed in my craft stash. 


* I never buy paper napkins. I use cloth and launder them. I purchase the cloth napkins in good condition from thrift stores.  Since I'm at a vintage age 🙂, I also have vintage 
tablecloths that have matching napkins. 

That's it ***


Saturday, August 16, 2025

This and That with discards

 Sometimes you just want to do something to occupy your hands and your mind. Escapism.


The finished product.


empty vinegar jug, yellow pages,  cardboard, permanent markers, napkins, Mod Podge, air dry clay,  sealant


I didn't give any of these a lot of thought. Just played it by ear using left over and recycled items.

That's It ***


Saturday, January 6, 2024

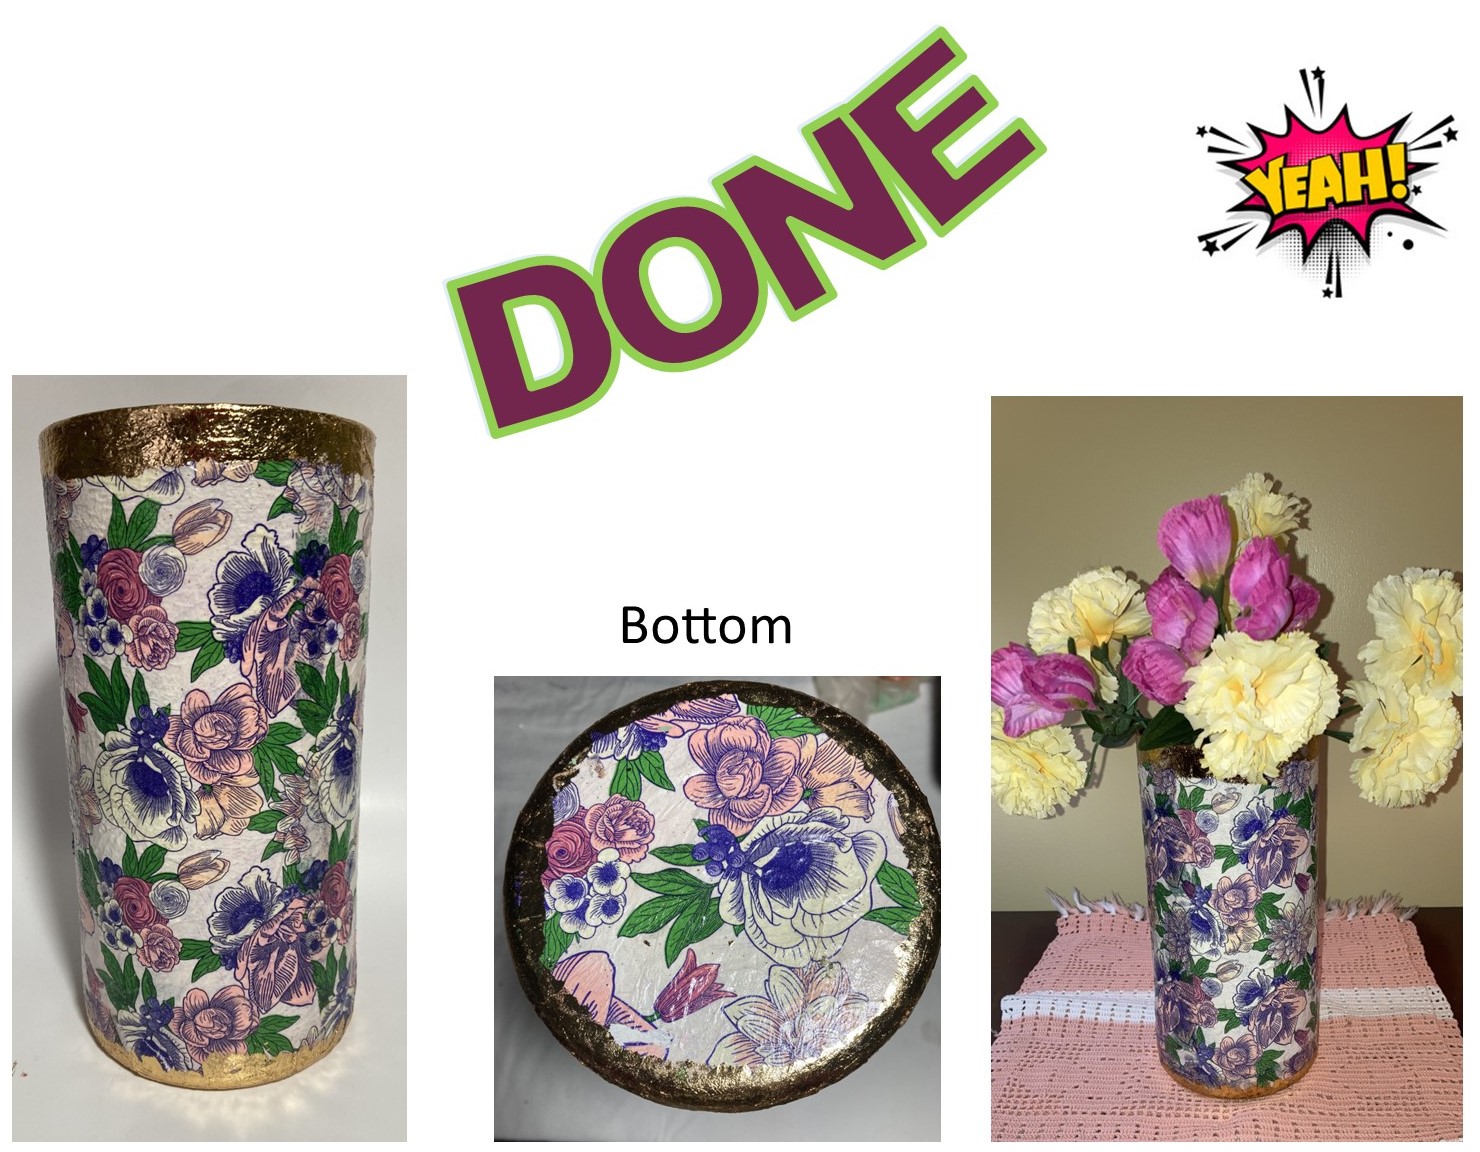
Glass on Glass Decoupaging

If you only want to see the pictures there are 15.

This will be my second attempt with decoupaging on glass from THE OUTSIDE. The great thing is that the INSIDE of the container is WATERPROOF. I like for all of my projects to be functional and not just another pretty face. (The outside is not waterproof. Wipe with a damp cloth and dry immediately with a dry cloth.)


Though the project was a success I was not pleased with the gilding foil. It flew everywhere no matter how I tried to contain it. It was on my clothes, the floor, etc. I won't buy this product again. Most times I get good results with Mod Podge. This type was to be a glossy finish. And though I used three coats, it came out with more of a matte finish.   

That's it ***


Saturday, December 3, 2022

Crafting with a COFFEE CONTAINER and a BOX

2 pics, 1 video 29 sec.

 I drink a lot of coffee.  While I do recycle items, there are some that make me go, "Hmm, what else can I do with this?"  If you've read my profile you know recycling and upcycling is a passion of mine. I've made numerous flower planters. Don't be misled. There will be more. 🙂

I was in need of a container to house a set of silicone utensils I'd bought from Amazon.  Folgers container to the rescue. 


I've had a bit of practice with these items over time. Although I couldn't erase the embossed Folger's symbol, I could do a primer to cover the laser printed label.  Follow up was with red spray paint.

The paint looks faded in some areas because I allowed some of the beige primer to peek through. But, I like the look.


After using acrylic paint, Mod Podge, printed label, cording, glue gun, button and spoon I found in my stash, I had the perfect container for my silicone cooking utensils.

Utensils in container.   29 sec. video

The only thing I'm displeased with is the hot glue showing after it has solidified.
                                                              ***
2 pics
Sometimes I get into an intense crafting mood. Today was that day. 

The Dollar Store container that I keep my TV remote and other items in bit the dust.  It was never sturdy and I'm pretty sure that what was supposed to be fabric was just a cheap plastic fabric imposter.  You get what you pay for.😐

My friend VFH sent me a birthday present in this box.
It contained a mug with a positive affirmation inscribed on it, comfortable footie socks, a make up bag, journal and I'm pretty sure I'm missing something. I didn't want to get rid of such a sturdy box so it became the new  container for my coffee table paraphernalia. 

I used good, old-fashioned contact paper to cover it and put it to use. Easy Peasy. 


That's it ***


Friday, June 3, 2022

Scandalous Sewing

It started with me wanting to know the age of my sewing machine. My aunt E. , who was a Home Economics teacher gave it to me more than 40 years ago. I’d taken sewing in high school back in the 1960’s. At one time I made most of my clothes.  In later years I do mostly crafts, alterations and repairs.

  This is my Morse sewing machine.  All metal parts, no modern bells and whistles, a little beat up from traveling with me through life but, it's perfect for what I want.
This is the accompanying array of feet and tools that came with the machine and kept in the pink and ivory plastic box. The feet you buy now have to be purchased individually. 

The Scandal

Philip Morse and his wife began their company in 1948.  At one time many sewing machines were made in Japan. Japanese companies  shipped their products through Morse’s shipping company, Mercury. Once in the U.S. the machines were distributed to various sellers who would brand the machines with their badge. Among them, Janome, White and Kenmore. Staying true, if a machine had “JA” inscribed it meant the machine was Made in Japan.

Morse began selling sewing machines also. BUT, he didn’t mark his machines JA though they  were Made in Japan.

Morse and his company Mercury would remove any information linking the machines to their Japanese origins. Instead,  he’d advertise and label his sewing machines as being  “Made in America with American parts.”

The Federal Trade Commission (FTC) learned of his fraudulent claims and ruled against Morse in 1955 stating that he misrepresented country of origin and manufacturer. Obviously, this omittance was done to bolster sales.

If you'd like to know more about the Morse story go to Silver Bobbin .

 I decided to give my Morse sewing machine a facelift.  Before I could paint it I attempted to repair some of the rough spots.

I attempted to paint the inside but, the fumes of the spray paint were too strong even wearing two cloth masks.


I plan for us to be together for as long as possible.💓💓

That's it***


Thursday, April 23, 2020

Planters from recycled containers

From previous posts you know I like to recycle and upcycle.

The plan was to present this in Power Point but that didn't work out after hours of work. So just read the slides.


THAT'S IT***


Tuesday, October 11, 2016

Seasonal decorative hanging pillows


I've done the decorative hanging  pillows before. I once had them in my now defunct Etsy shop.They can be hung on a knob, bed post, anywhere.
 
Having an inspirational or humorous reminder here and there can sometimes get me through the day.

I'm doing these for a charity that asked its volunteers to donate handmade items to go in their booth at the Christmas Village exhibit held here each year.

This also gives me the chance to use the fabric remnants I have that are to large to discard yet too small for larger projects.  Each of these pillows is about 8" x 8" (inches)
Off white broadcloth, gloves, water foam brush,  laser printed graphics mirror image, Mod Podge transfer medium. NOTE: The images must be mirrored and laser printed. Otherwise your text will be backwards. Non laser print and the colors will bleed.

I applied the transfer medium to the laser printed graphic, then turned it face down on the fabric and smoothed out any lumps. Though the medium  washes off with soap and water, I prefer not to have to scrub so I wear gloves. The hard part is waiting 24 hours for the process to dry and cure. If you remove it before that time your colors won't be as vivid.

These are the fabrics I plan to use. The back of each pillow will have a fabric that coordinates with the front. Not shown is the fiberfill used to stuff the pillows.
I used warm water in a spray bottle, spraying the square and wiping the paper from middle to edges. That's the discarded paper you see on the sides. NOTE:  I have found that it is better to use a clean soft cloth to wipe away the paper, using a clean section of cloth each time you go to a different area. Otherwise when you piece is dry it'll still look as if it needs to be wiped more.

The finished product
I did eight in all , two of each. No two are exactly alike.               

 
"I'll be as naughty as I want. I have my own credit cards."

 
"Peace on earth will come to stay, when we live Christmas every day."
"Many people look forward to the New Year to renew old habits."


Making charms for pillows.
"Many people look forward to the New Year to renew old habits."

"Love the giver more than the gift."


That's It ***


Sunday, January 10, 2016

Another Novel Idea: Tablet Keeper

TABLET KEEPER from an old book


While I still enjoy the printed paper pages of a good book, technology has made it possible to have a great number of books all in one place at the same time.  Enter, the tablet, also known by other names, e-reader, Kindle, Nook, Kobo. The list goes on.


I recently purchased Amazon’s Fire. It arrived packed in a white box and within the
white box was an orange box which contained the tablet. It was without directions inside, outside or on the box. I was able to download an e-book after much trial and error.


I thought about how I wanted to store my new gadget. I decided I’d make a tablet cover from an old book. After all I was planning to use it mostly for that purpose. That is until I learned how to work all of the other bells and whistles it came with.

I had an old book that I’d bought for 50 cents at a library book sale.
I’d recently put it in the “Give Away” bag . The fit was perfect. I plucked it from the bag of doom  and began resuscitating it to take on a new life. 


Here are the items I used:

Old book
Felt
Iron on fusion tape (I used Wonder Under)
Scissors
Hot glue
ruler
Cardboard
Mod podge
Foam brush
1/8 inch elastic approximately ½ yard (depending on the size of your device. I used elastic head bands because black 
elastic wasn't available)
OPTIONAL: Items to make a book charm and clear heavy vinyl for a screen guard


1.   I started the cut of the pages out of the book using a blade of the scissors.
Do this very carefully. You don’t want to sever the front and back covers.
If you’re feeling lucky, use an exacto knife. The gutted pages went into the recycle box.


2.     I measured the cardboard and felt  in accordance with the dimensions of my      tablet. Cardboard –one inch smaller than the tablet all the way around
           Felt- one inch larger than the cardboard all the way around
3.  Eight, one inch wide fusion tape strips were measured and cut . They were ironed around the outside edges of the felt. After cooling the paper was slowly pulled away leaving the filmy iron on glue.  Using fusion tape instead of hot glue would allow a smoother presentation.
                                                                           4. Allow the tape to cool completely then gently pull it away from the felt.
5. left- after fusion tape was removed and pressed onto the cardboard. right-milky residue left from iron on tape.
6.The white edges would show so I  painted them with a gold metallic acrylic paint. A charm hanging from my book would also be novel (pun intended) hence the length of jewelry chain inside the spine.

After hot gluing the chain  in place, I covered it with a strip of black felt. ( I didn't reinforce the spine with cardboard.I didn't feel it needed it.)

Using a medium and fine tip black marker I made decorative squiggly lines where the edges would show.


7.The elastic I had was too wide. I went to Walmart hoping I'd be able to find a package of 1/8 inch black elastic   but they only had white.  I live too far away from a fabric store so, I stopped in the hair accessories
department of Walmart and bought a set of black elastic headbands. 88 cents for three.

 After measuring the elastic, I hot glued it front to back on one of the covered felted panels making sure it was diagonal in the front so that it could hold the tablet.

About that time I realized I didn't have a closure. That's when I hot glued one of the bands front to back on the opposite cover as you can see on the left below. NOTE: It's better to glue the band ends of the closure tip to tip instead of overlapped. Otherwise, you'll have a hump where you overlapped the ends.                                        
After hot gluing the panels in place inside the gutted book,  here is the result.
I had some heavy clear vinyl left  from a project, which I cut out to make a screen cover. That way I don't scratch it or have to look at the fingerprints when I swipe.
Here is the outside. If you look closely you'll see the book charm is a miniature of the book jacket.
This part was mostly trial and error.
By copying and pasting a picture of the book jacket (found online)on to a piece of card stock in a minute size, I was able to cut it out , stuff it with other minute pieces of card stock resembling pages, glue it together and seal it with mod podge. I drilled a small hole near the top, inserted two jump rings and attached them to the chain.
 I'm very pleased with the outcome. It made it's debut yesterday during our book club gathering.

I'd like to connect online with other crafters and see what you've created.
END***