


That's it***
Footnote 11-23-2025
Toiletries holder

Decided to hang the picture. Can always take it down. The colors don't show up great here but I didn't want to toy with all of the doo-dads.

END...again
Sometimes you just want to do something to occupy your hands and your mind. Escapism.


I bought these fabrics in May with intentions of making three caftans. I prefer a cotton blend of fabric for this type of project since it's for comfort around the house during summer. However, I will wear caftans in colder weather with a sweater.
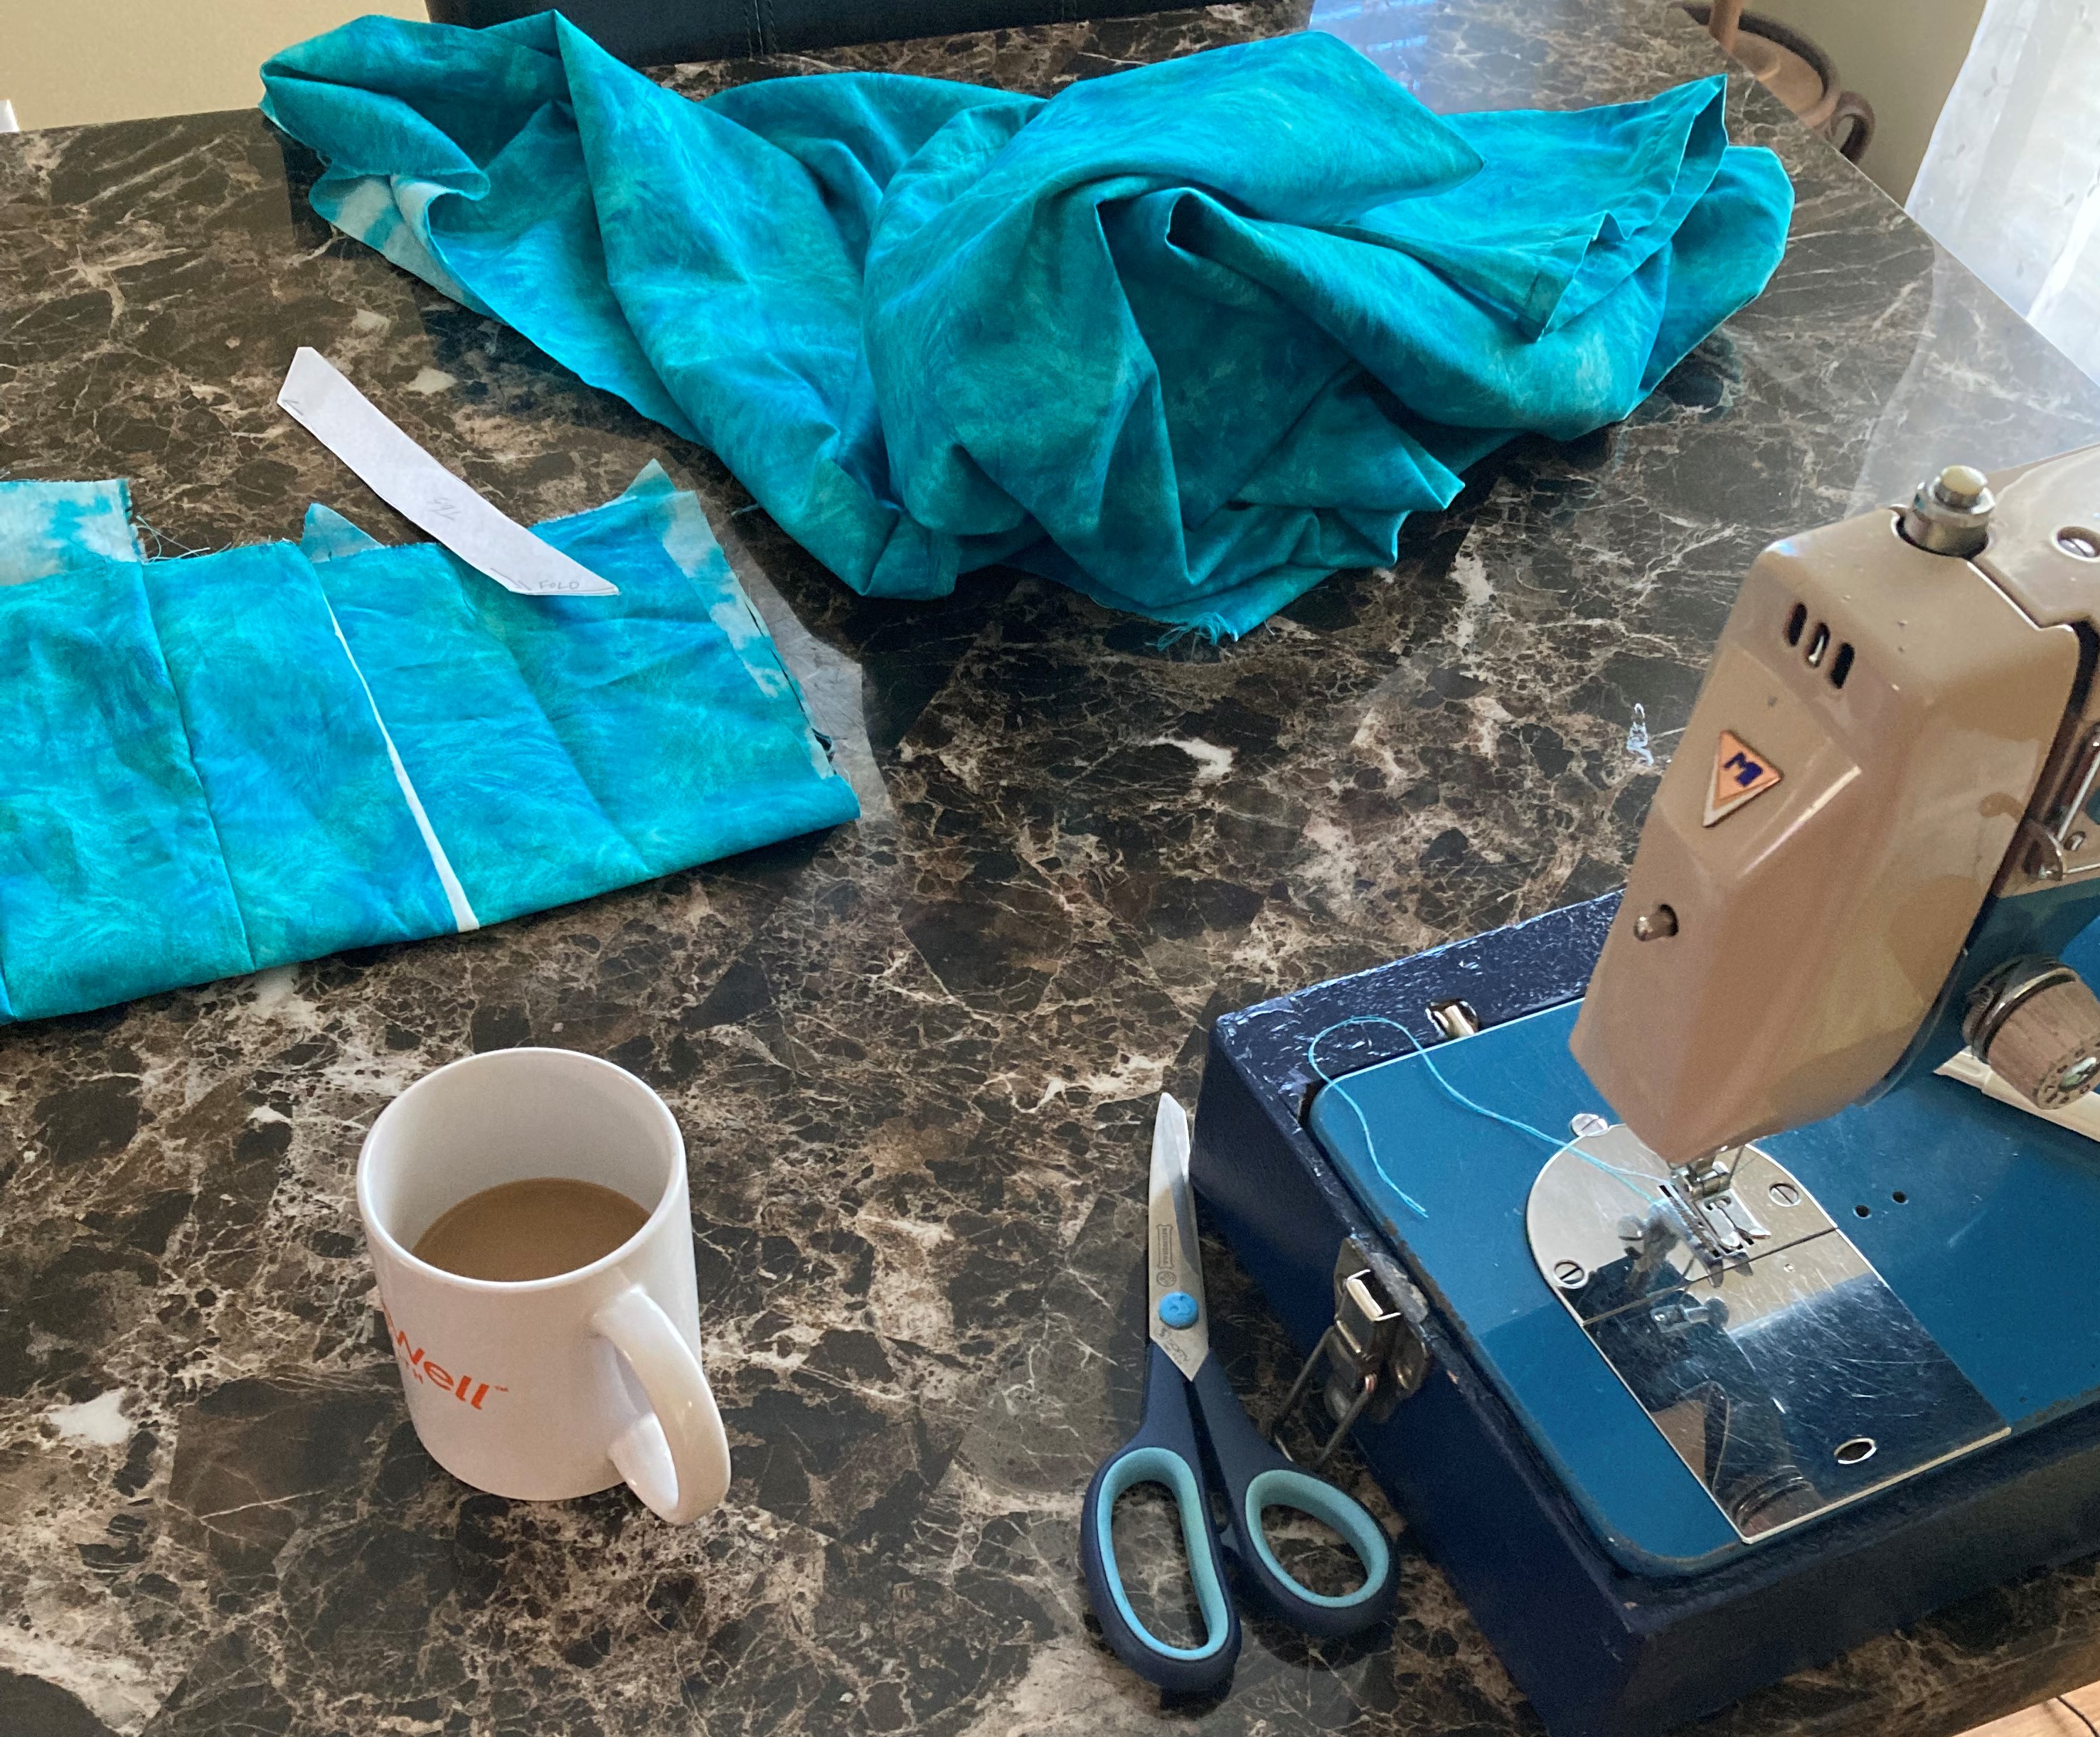 |
| Sewing and drinking coffee. My Home Ec. teacher would be appalled. NO FOOD OR DRINK WHEN SEWING!! |
 |
Since the front and back looked the same I decided to add these beads I had in my stash. The dental floss is to make sure they stay in place. The only problem is that the white floss shows. Sooo, I used a turquoise marker on the white floss. |
 |
| Front |
 |
| This shows the finished caftan to the waist. I was later told that this is a tunic and not a caftan. |
 |
| Bleached flannel |


 |
| The buttons consist of 2 washers and one bottle cap, The metal heart is a metal icon I had in my stash. I may paint it red at a later date. |
 I painted one side of wooden circles purple for Red Hatters and pink for Pink Hatters. Let it dry. I drilled a hole at the top of each one.
 I painted the back side some form of gold or silver. A fellow crafter had given me strands of pearls and strands of gold beads which were perfect for this project. With the beads being on a strand it was much easier to wrap them around the glass bubble picture of each one and slowly pull the string after the beads were in place. I used E-6000 glue for all adherences.
  |
| Pearls in place, Gold beads in place, names on the back, etc. Let it dry. |

 |
| You'll see the results of the dangly, thingies here and below. |


 |
| mosaic bracelet from egg shells and cardboard |

 Take 2 ACTION >>>>>>
 |
| I added additional beads to some of the cords similar to what I'd seen on the inspiration tassels I'd seen in Hobby Lobby. |
 |
| I used a LARGE needle and drove a much smaller hole through the bottom on up to the top and added more beads and tied on a ribbon. |
 |
| Lengthwise, before the ribbon |


 |
| Curiouspeddler.com |
 |
DancingBearTassels
on Etsy
|


 I measured the ribbons to 28 inches each. The eggshells, I dyed overnight in a vinegar, food coloring and water bath. I've used this egg shell method in another project. Then I crushed the shells fine so that I can use them as a mosaic on the foam ball.
 I used a regular pair of scissors to make a hole through the ball so that the tassel will go through.
 |
| Cross the ribbons 4 at a time in the midpoint and tack together with a stitch |
 |
Here's a close up view of the ribbons tacked together at their midpoint. NOTE: It'll be hard to push a needle through all of those layers so content yourself with sewing each layer to the one directly underneath. In the end they'll all be together when you finish.
Next I wanted to test to see if the ribbons would go through the hole. They did. But, I noticed there's a lot of foam dust after digging the hole and pulling the ribbon through.
 I painted the inside of the ball with Mod Podge to tamp down the foam dust for when I get ready to pull the tassel through. The outside I painted green as the background. The egg shell mosaic with be attached to the outside. Drying the ball from the inside has proven to be the most challenging. It's taking a long time. I painted the inside of the ball with Mod Podge to tamp down the foam dust for when I get ready to pull the tassel through. The outside I painted green as the background. The egg shell mosaic with be attached to the outside. Drying the ball from the inside has proven to be the most challenging. It's taking a long time. |