Showing posts with label napkins. Show all posts

Monday, November 16, 2026

Sour Lemonade

 It was to be a gift. 

I attended an event where our motivational speaker spoke about turning her lemons into lemonade.  The decorations included lemonade napkins, plates, colorful wall hangings and etc. I decided to keep one napkin to use in a reverse decoupage vase to give to the speaker, the next time we met. I've done reverse decoupage before and been successful.

Materials used

I also had a gold and silver sparkly placemat left from another event which I planned to use as the inside decoration. That's where I went wrong.😞

This is the sparkly inside. After completion it would have been waterproof.


My  first mistake was using a product made of plastic fibers that was not pliable. No matter how I cut and pasted it, it would not lay flat in some areas. This threw off the whole project.  
    My second mistake was trying to cut the puffed areas after it dried and make them yield to my commands.
    Not to be outdone, I proceeded to the third step which was to paint the vase white which would conceal the inside layer from the outside. 
    Lastly, glued on the lemonade napkin layer.


It was a disaster before placing the gold on the rim. Visible napkin edges, obvious overlaps and puffed areas where it refused to lay flat.
There were other mini disasters before the tape not sticking and not sticking at the top.  I guess this was not to be. 
The final destination...The Recycle Bag aka Trash. You win some. You lose some.

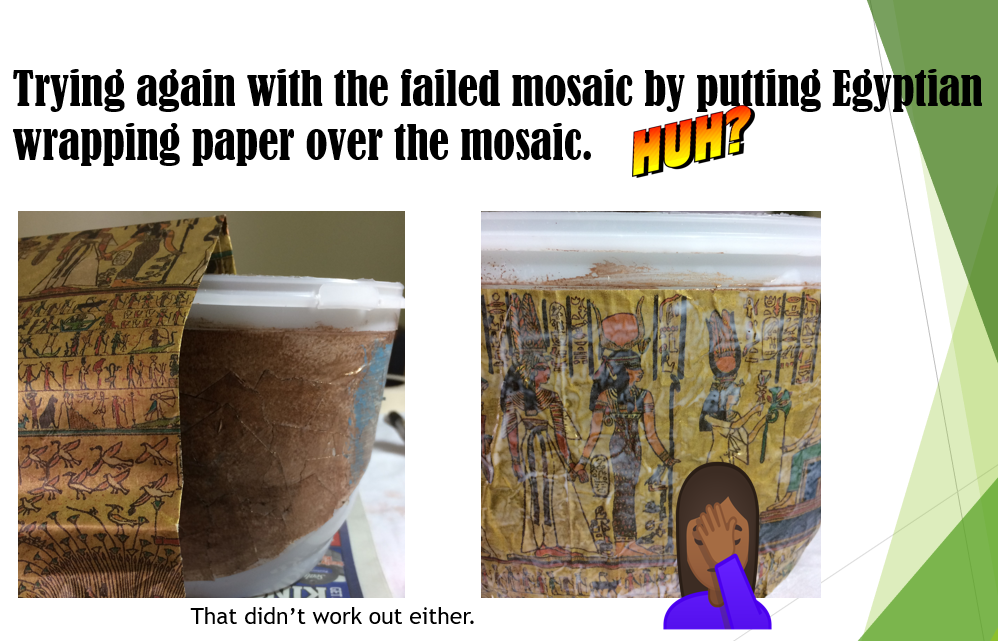
Here's one I got right.  Egyptian Reverse Decoupage

That's it ***

Sunday, July 5, 2026

Boxing Boxes

 I shop online periodically.  I always save the boxes for a while to determine if I can use them for something else. (I've been trying to declutter and organize lately.) 

I've made a pact with myself that if I don't use them within 30 days, I break them down and take them to a recycle station. After all, more boxes will be on the way...eventually. 

Being that I frequent fast food restaurants, (Don't judge me.) I accumulate a lot of paper napkins. (Why throw them away when I can use them in the car or at home*?)

 For a while I stacked them on top of the microwave. That stack can get so large, it tumbles over.  I decorated one of the small, cardboard  shipment boxes using one napkin, acrylic paint, felt and air-dry clay to decorate a box to keep them in. I happened to have all I needed in my craft stash. 


* I never buy paper napkins. I use cloth and launder them. I purchase the cloth napkins in good condition from thrift stores.  Since I'm at a vintage age 🙂, I also have vintage 
tablecloths that have matching napkins. 

That's it ***


Saturday, August 16, 2025

This and That with discards

 Sometimes you just want to do something to occupy your hands and your mind. Escapism.


The finished product.


empty vinegar jug, yellow pages,  cardboard, permanent markers, napkins, Mod Podge, air dry clay,  sealant


I didn't give any of these a lot of thought. Just played it by ear using left over and recycled items.

That's It ***


Saturday, January 6, 2024

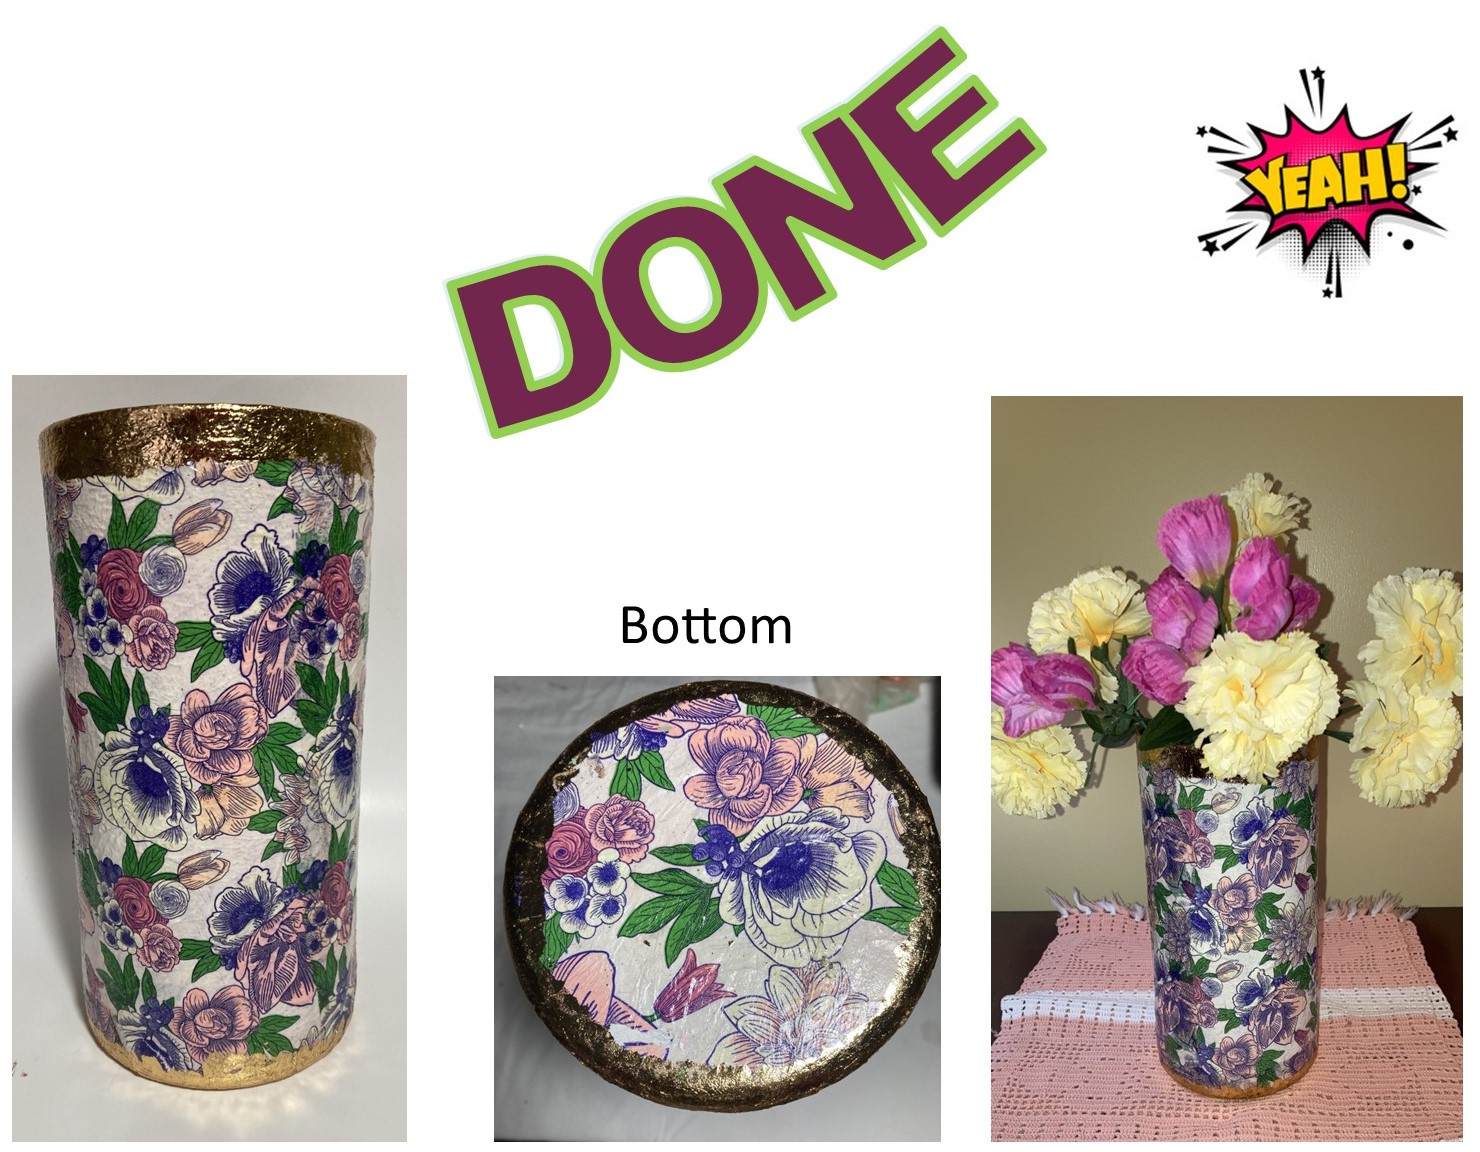
Glass on Glass Decoupaging

If you only want to see the pictures there are 15.

This will be my second attempt with decoupaging on glass from THE OUTSIDE. The great thing is that the INSIDE of the container is WATERPROOF. I like for all of my projects to be functional and not just another pretty face. (The outside is not waterproof. Wipe with a damp cloth and dry immediately with a dry cloth.)


Though the project was a success I was not pleased with the gilding foil. It flew everywhere no matter how I tried to contain it. It was on my clothes, the floor, etc. I won't buy this product again. Most times I get good results with Mod Podge. This type was to be a glossy finish. And though I used three coats, it came out with more of a matte finish.   

That's it ***


Wednesday, December 13, 2023

Coffee Creamer Vase

What I used
Coffee Creamer Vase, magazines, napkins,  plastic container,  spider plant, acrylic paint, duct tape, school glue 


That's it ***


Tuesday, December 5, 2023

Decoupaging a Vase


I began with napkins, cut outs from magazines and
calendars. 

First,  I glued  some of the cut outs on the outside with the face of the picture turned toward the inside of the vase. I then added sparkles using  glitter nail polish. 

Gluing the pictures from the calendar face 
down on the vase from the outside.


This is how the vase looks from inside.
              

After the glued pictures dried, I painted the entire vase with white chalk paint.


Additional cutouts to be placed randomly on top of the napkins.


The finished vase

The same gluing method for the napkins and cutouts was used. After drying, the entire vase was sprayed with a  clear sealer. 

Gold washi tape was used around the bottom and top. NOT A GOOD CHOICE. I removed the tape later. Since this is my first attempt, I'm pleased. I'll use gold, bronze or silver leaf in the future for rim and base if I want sparkle. 
 
While this vase can hold water inside, it is not completely waterproof on the outside even with the sealant.  

That's it ***


Thursday, April 23, 2020

Planters from recycled containers

From previous posts you know I like to recycle and upcycle.

The plan was to present this in Power Point but that didn't work out after hours of work. So just read the slides.


THAT'S IT***