Showing posts with label acylic paint. Show all posts

Saturday, December 22, 2012

Drapery Finials From Foam Balls


Trying to glue the lace on was tedious especially avoiding getting burned by the glue.


Present finials and curtain rod. As you can see after falling the one in the middle lacks its tip.

Drapery finials are pretty expensive. The ones that came with my curtain rods were large for the area but since they weren't being moved on a regular basis it was okay. I had foam balls left over from a project and didn't want to throw them away. By now if you've read any of my previous posts you know that I am a frugal person who doesn't like to throw anything away. BUT! I hasten to say I AM NOT A HOARDER. I tried hot gluing lace onto a foam ball with the idea of  painting lace and ball with a metallic acylic paint. I wasn't pleased with the outcome. I ended up throwing those 2 balls away. See, I'm not a hoarder. 


 After painting one of the balls weith the sage green metallic paint, I noticed that the paint wasn't really grabbing. There were six balls in the package so I had enough for a do over since I only needed 4. This time I roughed up the balls a little with sandpaper. Here you have to be careful or you'll end up sanding away the whole ball or getting it uneven. I decided on a bronze mettallic paint. I painted it with two coats of the bronze but it could have stood a couple more coats.


 I used wooden cutouts, hot glue and permanent markers for the embellishments
The third ball from the right shows where I made the indentation for the curtain rod.

Before I did any painting I skewered each ball with the curtain rod so that it would fit after I finished it and also to use as a guide for gluing on the embellishments.  I removed the foam stuck inside the curtain rod with a disjointed wire hanger (the kind Joan Crawford allegedly would go bonkers about)
 
This is a photo of the finials at the end of a valance. I ended up putting a little double sided tape on the inside of each finial so there would be more grab to keep them on.

Here is a closeup of the finial.

Right now I'm satisfied with the results and that's all that matters.
THAT'S IT***

Monday, December 10, 2012

Copycat

It's been said that imitation is the sincerest form of flattery.

I saw this necklace at a site that I don't remember (I must get better at writing it down to give the proper people credit) and felt that I could create something similar.


Using two pieces of cardboard which can be gotten for free pretty much anywhere, I glued them together using regular school glue. Make sure the glue is spread over the entire piece of cardboard. I wanted firmness but not heaviness around my neck. Cereal box and shirt board cardboard work well.


 I used the paper clips to hold the two pieces in place and then stuck it in the oven on 200 degrees for 10-15 minutes. Make sure you don't burn your fingers on the paper clips when you remove it from the oven. It would be best to use a pot holder and allow the clips to cool before removing them. 

Using acrylic paints in chartreuse,cobalt,purple,burnt orange and a little bit of brown I painted the cardboard in the colored tiers as in the photo. Imitating what was in the original necklace I used a comb dipped in brown to get the striated lines in the chartreuse. I used an opened paper clip to pull the wet burnt orange drops to create the splotches in the blue The same was done to the layer of purple and then sponged a little bit. I then placed it back in the 200 degree oven to dry for ten minutes. I repeated this same method on the opposite side in the same manner so that the colors would be the same on both sides when cut out. I brushed a matte coat of decoupage glaze on both sides.
 

I'd forgotten about the crude hearts on the smaller discs of the necklace so I took another piece of cardboard  prepping it the same as the tri-colored piece and painted it metallic sage green. After it came from the oven it had this beautiful blistered paint. I really like this  texture and will use it in future projects.
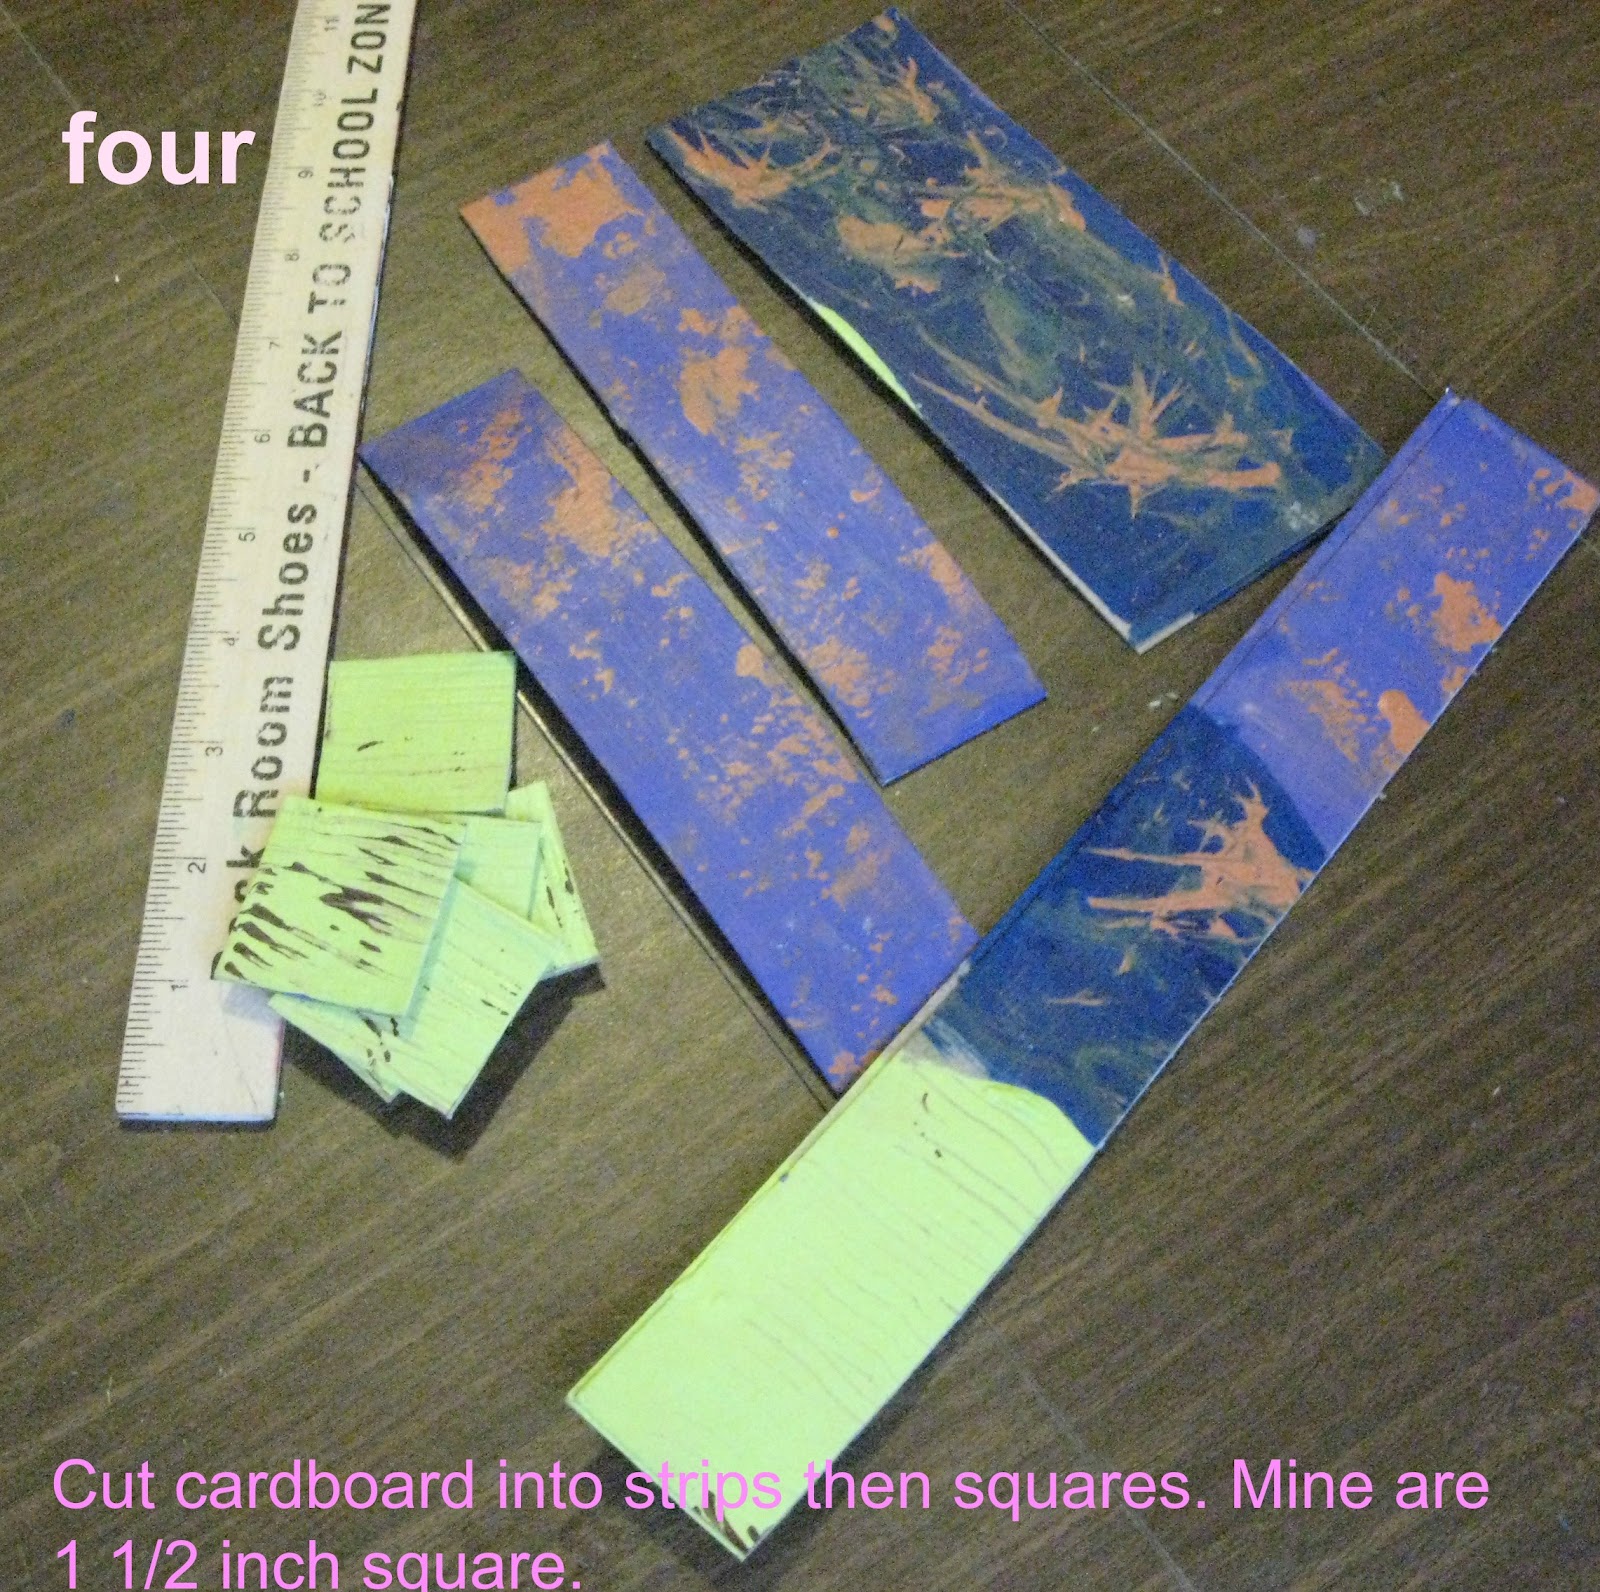
THE PROBLEM came in when I got ready to cut out the discs. I had planned to use my circular craft puncher but the cardboard was too thick so I resorted to cutting 1 1/2 in. squares of the tri-colored cardboard.

The metallic I cut into 1" squares.
I used my drill to make the holes for the jump rings. I might add here that I made my own jump rings from beading wire using the tutorial by Hectanooga1 

My version of the disc necklace

The original designers necklace.


AFTERTHOUGHTS
I'd bought a roll of chain at Hobby Lobby some time ago. I used a length of it to attach the jump rings and squares. This was my first attempt attaching jump rings onto a chain. I also made the closure for the necklace. I'll admit I didn't have the right tool for this part and will have to practice a bit more. I'll also make the necklace a little shorter removing some of the links. Overall I am very pleased.
THAT'S IT***