Friday, May 24, 2024

Hydro dipping Part 2

 Previous post- click here


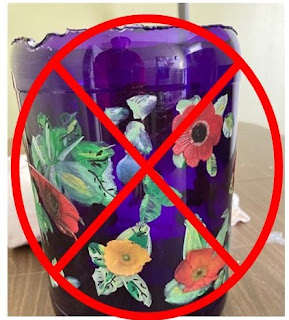
I chose to remove the top edge of the plastic jar to make it more open.

I gave  the container a smoother lip using air dry clay. 


I've never used air dry clay before. 


Instead of using the silicone molds  I opted to simply mold the clay around the ragged rim.


Afterwards I painted the rim with acrylic paint. 


That's it***

Monday, May 20, 2024

Return of the Pretty Blue Pot-Ugly


I'd previously tried to decorate an azure blue, plastic, container into a decorative pot. Click  here  to see the post.

I decided to  give it another try.
I spray painted the container to cover up my previous painting attempts.


Silicone mold


That's it***


Thursday, May 2, 2024

Hydro Dipping using Nail Polish

 Because nail polish can be a little strong, I suggest working in a ventilated area.  I used my garage with the door up.   I urge you to plan ahead.  You'll see why at the end.

What a kaleidoscope   of colors!


After thoughts
  • I  hydro dipped beads in the past using a foam cup for the water and polish. Don't use foam. The polish eats out the foam and you'll have a big mess. 
  • I didn't use a sealant after the colors dried. I'm unsure as to whether it's needed or not. My item is being used indoors. 
  • Wear a pair of gloves not just one (like I did 🙁) You never know when you'll need the other hand. 

    I'm fond of azure blue but, not this much. Try as I might it has been difficult trying to remove this from my hands.  That's why I said PLAN AHEAD. 😟


There's more than one way to hydro dip. Numerous items can be dipped such as tumblers, wine glasses, Christmas ornaments, etc.

Here are some links to videos of hydro dipping;